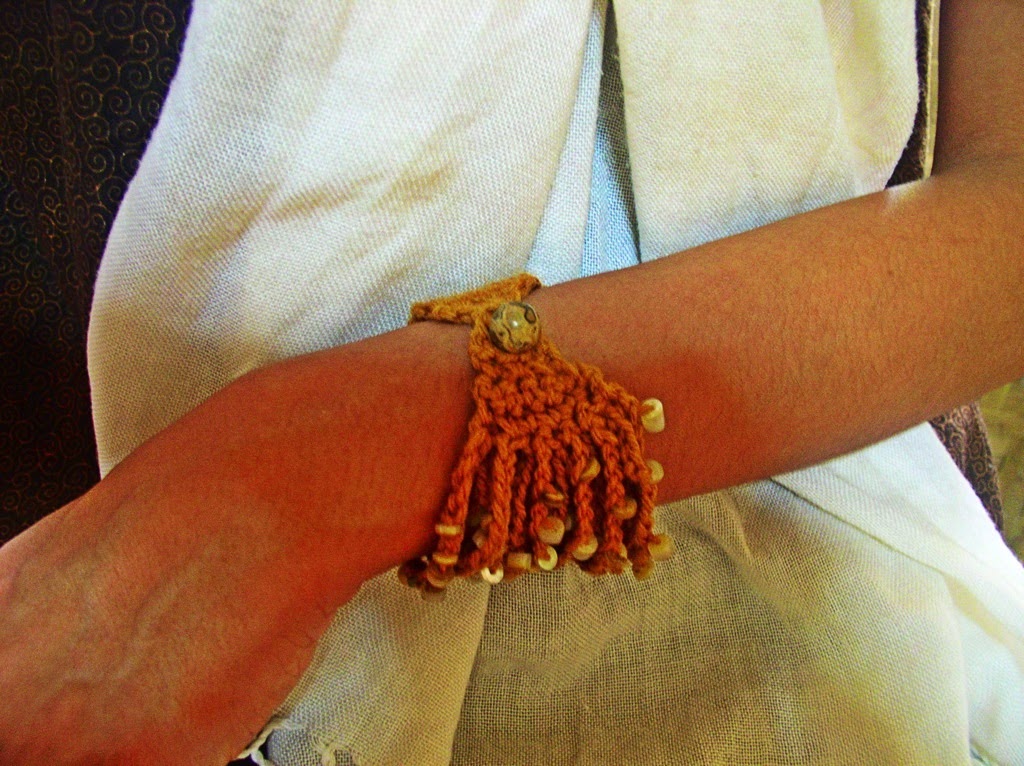
Beaded Chains Bracelet

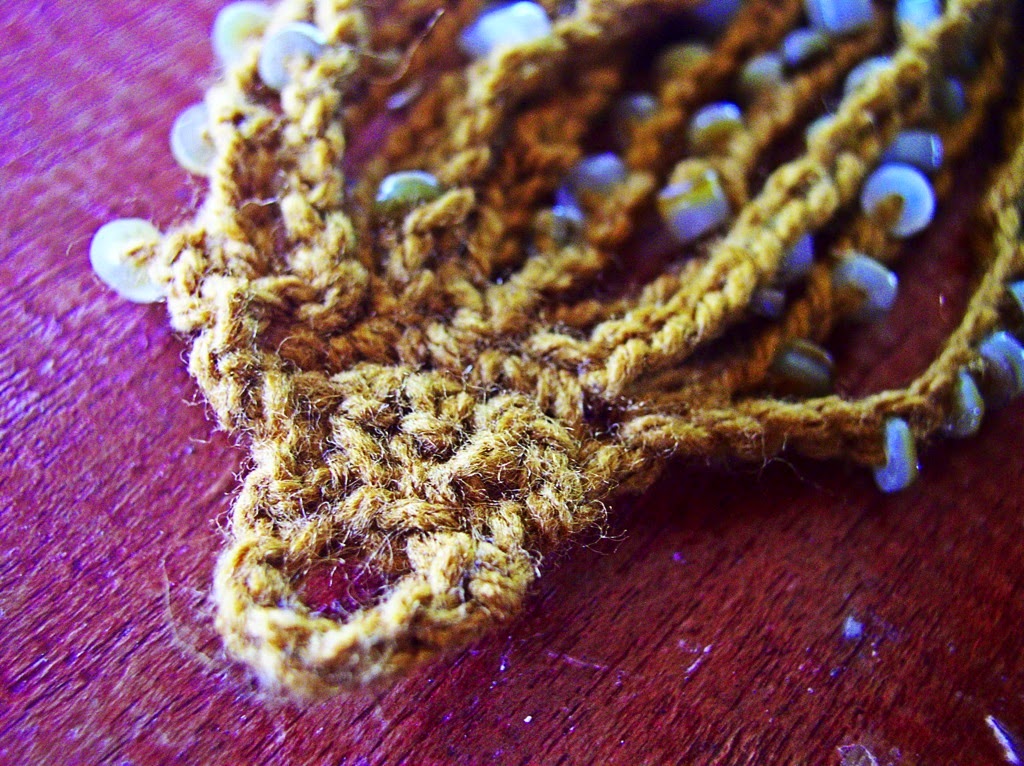
The chain and beaded chain design is a very versatile one and from the photos, it is possible to come up with your own pattern. I tried this using acrylic yarn of fingering weight and some stone beads of irregular sizes. I particularly like the irregularity of the size of beads. I also arranged the beads on the chains in such a way that they are also irregular.
Note: If you’re having difficulty at Row 13 “end the row with ch sts”, this means that you end the row not with beads but rather with 3 or 5 or so chain stitches. The bracelet looks nicer if the beads weren’t directly next to the placket.

Beaded Chains Bracelet
Materials:
Fingering weight acrylic yarn (3-ply yarn)
Small stone or glass beads with holes large enough to fit yarn (120 pieces or more depending on your size)
Larger bead to be used as button for enclosure
Hook:
Crochet hook size Japan 3mm
Also:
Sharp scissors, needle
Beading needle
Design notes: The bracelet is crocheted in one piece. All the beads are threaded before working with the large bead (used a button closure) threaded last).
Crocheting starts with the large bead and placket (rows of sc increases). When you get to the beaded chains, these are chains that go back and forth from the placket then to the other end of the bracelet (these are loose ends yet to be worked together into a placket/loop).
When you have about 11 beaded chains that go back and forth, you start joining the places where you made the “turn, sc in 2nd ch” with sc. From there you decrease and at the end make the loop for the bead.
The beaded chains are commenced at row 8. If you are using beads of same sizes you may count the number of chains and beads and repeat that number for the rest of the beaded chains. This will make all the beaded chains of equal lengths. However, since I used irregular sized beads and also tend to crochet loosely and tightly in different places, I just looked at the length of the chain and added ch sts until they look even. Anyway, a small amount of unevenness is also good and gives the bracelet a more interesting appearance.
Instructions:
Special Stitches:
Singe Crochet Decrease (sc dec): Draw lp through first sc, draw lp through 2nd sc, yo, draw lp through all 3 lps on hook (sc dec made).
Bracelet:
Preparation: String small beads in yarn. String the larger bead last.
Row 1: make a slip knot. Leave a long tail which you can later weave or needle through the larger bead for a stronger and tighter hold. Ch 1 over the larger bead, ch 1, sc in loop around bead, ch 1, turn.
Row 2: 2 sc in sc, ch 1, turn.
Row 3: 2 sc in 1st sc, 2 sc in next sc, ch 1, turn.
Row 4: 2 sc in 1st sc, 2 sc in next 2 sc, 2 sc in last sc, ch 1, turn.
Row 5: Sc in each sc across (6 sc made). Ch 1, turn.
Row 6-7: Rep row 5. At end of row 7, do not turn
Row 8 (The beaded chains start here. Once you have established the length of the beaded chain according to your size, you may improvise the number of beads and ch sts in each beaded chain thus you may not need to follow the pattern stated here until row 13): Ch 1, sc in 1st sc, *ch 4, slide bead, ch 3, slide bead, rep fr * to desired length of bracelet with about half inch allowance for bead placket to be crocheted later on. End the row with ch sts. Turn.
Row 9: Sc in 2nd ch fr hook, *ch 4, slide bead, ch 3, slide bead, rep fr * to match length of ch in previous row; end the row with ch sts, sc in next sc in row 7. **Ch 6, slide bead, ch 3 slide bead, rep fr ** to match length of beaded ch already made, end the row with ch sts, turn.
Row 10: Sc in 2nd ch fr hook, *ch 6, slide bead, ch 3, slide bead, rep fr * to match length, end with ch sts, sc in next sc in row 7. **Ch 4, slide beaad, ch 2, slide bead, rep fr ** to match length, end row with ch sts, turn.
Row 11: Sc in 2nd ch fr hook, *ch 3, slide bead, ch 2, slide bead, rep fr * to match length, end with ch sts, sc in next sc in row 7, **ch 3, slide bead, ch 1, slide bead, ch 2, slide bead, rep fr ** to match length, end row with ch sts, turn.
Row 12-13: Rep rows 10-11.
Row 14: Sc in 2nd ch fr hook, sc in sc at end of nearest beaded ch, *sc in sc of next beaded ch, rep fr * 3 times, ch 1, turn.
Row 15: Sc dec, sc in next 2 sc, sc dec, ch 1, turn.
Row 16: Sc dec, sc in next sc, sc dec, ch 1, turn.
Row 17: Sc in 1st sc, ch 3 (or ch 4 or depending on the size of the bead button), sk 1 sc, sc in last sc. Fasten off.
Weave in ends.


Comments
Post a Comment